How to Post Jobs and Understand Billing w/ Hemp Temps
August 26, 2024
Introduction
Welcome back to another trusty “How To” post from Hemp Temps! We create these guides to help you better navigate our app, offering a direct path through the features straight from the source! In this post, we’ll focus on the client side of the app, showing you how to post jobs and understand billing. By the end of this post, you’ll be equipped to post jobs and manage billing on the Hemp Temps App like a pro!
With that said, let’s dive into the details so you can start posting jobs for the eager and skilled Hemp Temps workforce ready to respond!
Table of Contents
Primer
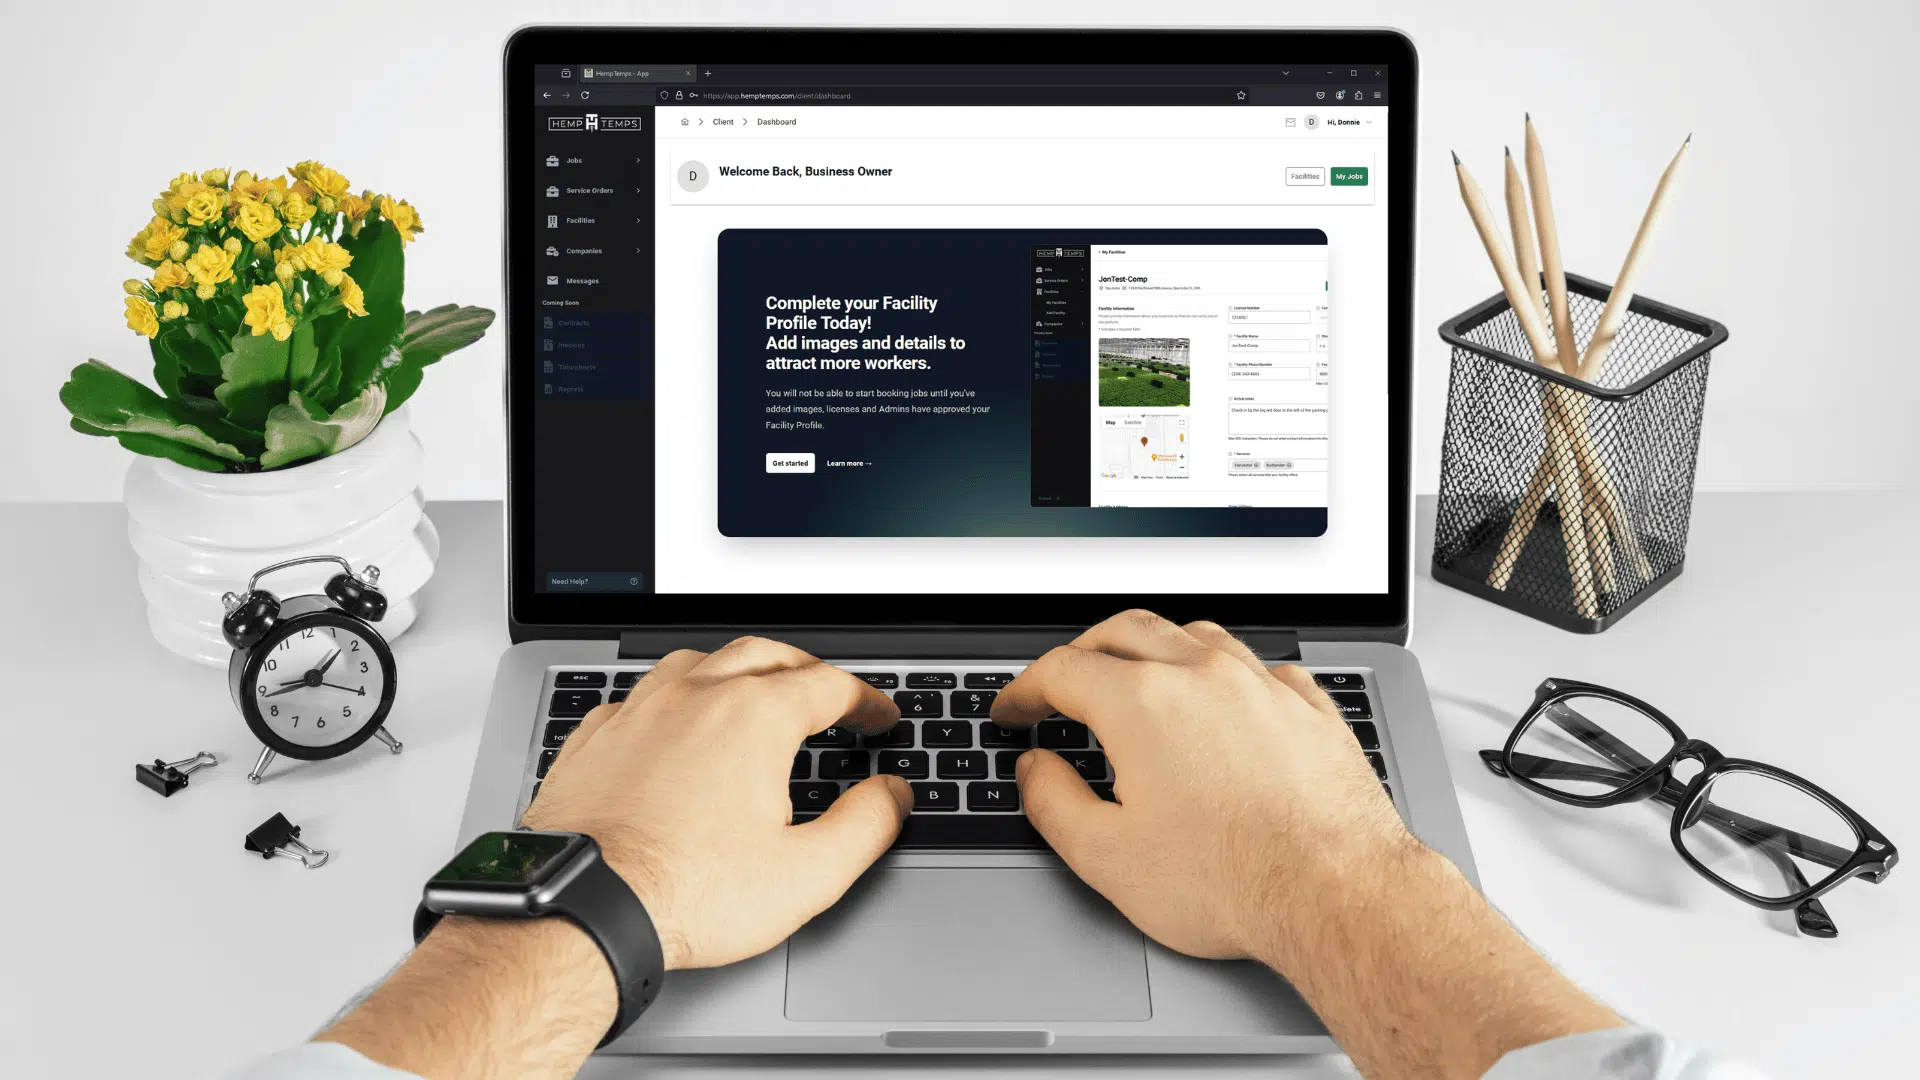
Before you can post jobs, you must complete your company profile and add a “Facility” to your account.
This step is essential for you to know how to post jobs and understand billing.
The Hemp Temps app allows you to create as many facilities as needed under the parent company, making it easy to manage multiple shifts across various locations.
To learn more about setting up your profile and managing your facilities, [click here], then return to this post when you’re ready to continue.


One of the most crucial things to have finished for you to know how to post jobs and understand billing is to make sure to have a credit card on file for your company profile before adding new jobs.
Please note that debit cards are not accepted. If you prefer not to use a credit card, we also offer ACH payments and Terms on approval.
However, keep in mind that ACH and Terms can take up to 48 hours for approval, so we recommend using a credit card for the fastest and most convenient payment option.
Step-by-Step Instructions
Step 1: Log In, Click the “Jobs” Dropdown Toggle, and Click “Add Job”

Navigate to app.hemptemps.com and log in with your credentials.
Once inside, you’ll be presented with the Hemp Temps dashboard. Click the dropdown toggle for the “Jobs” button, which will take you to Client > Jobs > New.
Here, you can select a Job Title from the dropdown, followed by a Facility you’ve already created.
This will assign the job to that specific Facility.
This is a crucial step to master so you know how to post jobs and understand billing
Step 2: Select Job Date(s), Start & End Time, Vacancies, Pay Rate, and Lunch Break
Next, carefully select the job dates from the calendar by clicking on the required days. You’ll then choose the start and end times for those dates.
Below that, specify the number of vacancies if you need multiple workers for tasks like harvesting or turnover.
Set the hourly pay rate by adjusting the value in the field, and finally, choose the lunch break duration. Options include No Lunch, 30 minutes, 45 minutes, and 60 minutes.
This is a crucial step to master so you know how to post jobs and understand billing.


PRO TIPS
- PRO TIP 1: When selecting dates, keep an eye on how they affect the “Service Order Preview” card. Double-check the dates to ensure they match your exact needs to avoid unnecessary worker arrivals.
- PRO TIP 2: Notice how the lunch break selection impacts the “Total Hours Per Day” in the “Service Order Preview” card. The longer the break, the fewer total hours worked per day.
- PRO TIP 3: Remember, for jobs require 6 or more employees, a supervisor will be added to the shift as well. In addition, our app requires a minimum of 7 hours per shift which can be affected when selecting the lunch break length which subtracts from the total hours of the shift.
Step 3: Select Job Tips, Examine the Service Order, and Authorize Hold on Card

Before submitting, it’s vital to select the Job Tips that will prepare the Hemp Temps workforce for what to expect. Available options include:
- Change Required Upon Entry
- Lunch Included
- Lunch Room Available
- Lunch Will Be Off-Premise
- Pack a Lunch
- Parking on Street
- Parking Onsite
- Required Identification
- Special Equipment
- No Gas Stations Nearby
- Water is Provided
- Outdoor Sun Exposure
- Must Be Able to Lift 50 lbs
- Steel Toe Shoes
- Lab Coat Provided
- Head / Beard Net Required
Once you’re satisfied with your selections, double-check all the values and selections before hitting “Submit.”
It’s crucial to take this final step because once you proceed, you won’t be able to edit these attributes in the final steps!
Understanding this will better prepare you to know how to post jobs and understand billing.


When confident, click “Submit.” This will take you to the Client > Jobs > Service Orders > Pending screen, where you’ll see a list of your pending service orders, with the newest creation at the top. Click on the new Service Order to review it thoroughly, ensuring it matches your intentions.
If everything looks correct, select the card you want to charge from the dropdown menu beside the green “Authorize Hold On Card” button, then click to make the job official! You’ll see a success message if your payment is processed successfully, and the Hemp Temps app will redirect you to the Client > Jobs > Service Orders screen, where your newly created service order will appear at the top of the list with the “Status: Authorized / Published.”
Now, this new job is live on the employee side, where our eager Hemp Temps workforce will find and apply for the open positions, hoping for the opportunity to work with you! With Hemp Temps, you’re in complete control over the jobs you post, down to the workers who are awarded the positions being able to “Do not return” and employees that don’t fit your needs.
This is a beneficial element to master so you know how to post jobs and understand billing.
Conclusion
Congratulations! You’ve now mastered this lesson and know how to post jobs and understanding billing on the Hemp Temps App. With this knowledge, you’re equipped to efficiently create job listings and ensure that every detail, from job dates to payment methods, aligns perfectly with your needs.
By following the steps outlined, you can confidently navigate the app and make informed decisions that attract the best talent for your business. Remember, the more accurate and thoughtful your job posts, the better prepared our skilled Hemp Temps workforce will be. So go ahead, start posting those jobs, and watch as top-notch candidates line up to work with you! Happy hiring!
PRO TIP
PRO TIP: You can monitor your Service Orders by clicking the Service Orders button from the left navigation bar. Alternatively, use the dropdown arrow for the same button to manage either your Pending or Authorized service orders for a more streamlined workflow. This is a crucial tip to understand so you know how to post jobs and understanding billing
Get started
If learning Cannabis related skills, techniques, and terminology peaks your interest you will be excited to know we have a plethora of online lessons to prepare you for the jobs available on the Hemp Temps App.
Getting started for job seekers is as easy as creating a social media account. We have an orientation video to guide you through the process and once complete you can begin learning everything there is to know about just about every Cannabis Job out there. After completing the mandatory lessons you can start working!
[divi_shortcode id=”238554″]
Thanks again for diving into this important article so you know how to post jobs and understanding billing like a boss! When you know how to post jobs and understand billing it makes a huge difference in your confidence using the Hemp Temps App. Thank you for investing in your own knowledge and skill! Now that you know how to post jobs and understand billing like a pro you can get those jobs posted today!
And that concludes our hot to blog post titled How to Post Jobs and Understand Billing w/ Hemp Temps!
Ready to Build Your Cannabis Workforce?
Pre-screened, background-checked workers placed in 24 hours across CO, MI, OK, and NM.